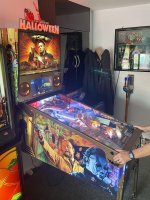
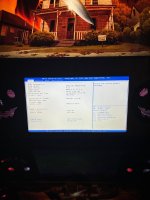
Thanks and that will help others, well worth doingSo a few pointers and some pictures from how I did it. I didn't take pictures as I went along so there are a few steps without them because I cant reverse where I have stuck the new panel down sadly. I have un done as much as I could and took pictures to help out.
Aside from the two bits I linked above you'll also need some double sided sticky foam pads or similar to secure the new panel to inside the metal bracket. You'll want some thickish ones or double them up as the new screen is very thin and needs padding out a little to bring it to the same distance as the old screen.
Here we go then...
Start by removing the right speaker, the threads holding it down are way too long so you'll spend a good 5 mins undoing those suckers. Move the speaker into the back box for safe keeping.
Disconnect the 12v and HDMI cable.
Next undo the four nuts that hold the screen in.
Pull out the LCD, you can leave the Perspex in place.
Now you want to do these next steps on a clean flat surface like a desk or worktop.
Disconnect the LCD screen from the LCD controller PCB. Unplug all the wires and unscrew the four screws to remove the PCB.
You can leave the control PCB in place as its identical to the one supplied with the new LCD controller.
Next undo the tiny four screws that hold the old screen inside the metal bracket. You'll find two either side. I've removed them in this picture but these are where they are.
Take out the screen and put it somewhere safe.
Take the new 30pin EDP cable and plug it into the port on the back of the new IPS panel. Be sure to put it in the right way up, writing side facing up and make sure it clicks in securely.
Next put your sticky pads/tape inside the metal bracket, enough to secure it and evenly spread out in the corners and some in the middle. Take off the backs of the sticky pads so they are ready to have the back of the new screen stuck to them!
Place the new screen in so the bottom edge of the screen is touching the bottom of the bracket and you'll want to ensure its sat perfectly centre with an even gap left and right.
IMPORTANT!!! be sure to have the IPS cable come up and out of the bottom edge so you can bend it over the back of the bracket.
I used some tape to secure the EDP cable to the back of the bracket.
Now if that is all secure, flip it over and install the new LCD controller, I have just screwed mine to one of the existing mounts. If you wanted to you could again use sticky pads or perhaps 3D print a new bracket for it.
Connect the 30 pin EDP cable into the new controller PCB (Blue tap facing up).
Now your ready to go fit it back into the machine which is really just reverse of what you did to take it out.
IMPORTANT!!! Remember to remove the IPS screen protector film that it ships with.
Place it back on top of the Perspex, and line up the fixing holes. Screw the four bolts in place. Fit the speaker. Hook up the 12v and HDMI to the new controller PCB.
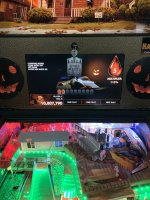
Turn on and marvel at how good it looks out of the box
FINAL NOTE!!! My Halloween is a later run with the 3.5mm audio lead coming directly from the little PC in the back box straight down to the amplifier. Other spooky games and some of the early Halloween/Ultraman may have the audio extracted through the LCD controller board via HDMI. If unsure chuck up a picture and we can work out how best to solve it.
Last edited:


