Pinball info
You are using an out of date browser. It may not display this or other websites correctly.
You should upgrade or use an alternative browser.
You should upgrade or use an alternative browser.
Today I worked on......
- Thread starter kevlar
- Start date
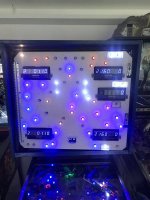
Yes Red would work well, blue or even green would work with Meteor. I'm saving the red ones I have for Fireball 2. The beauty of how I've designed there is they are very easy to change - as the display unit just plugs into the controller board beneath. So a 1 min job to swap all 5 displays to another colour.How about a red to match those flaming meteors?[emoji2]
Sent from my SM-G960F using Tapatalk
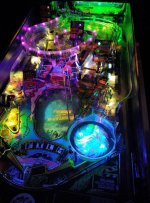
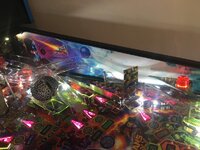
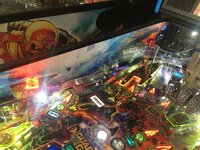
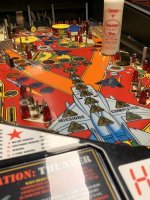
Completed the last of the recent Creech upgrades last night. Installed new leds for the ramp and bowl to complement the new Stumbler Chase Board.
I love the whirlpool effect in the bowl really makes a statement in gameplay compared to before.
I love the whirlpool effect in the bowl really makes a statement in gameplay compared to before.
Attachments
You're welcome Davey, LEDs purchased from Best of Pinball (your recommendation) €20.14 including shipping.Lovely stuff Chris, thanks for the great feedback. Whose 86 LED bulbs did you use by the way? They look great.
Really happy with the bulbs much tighter fit than the brand I had previously.
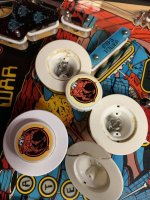
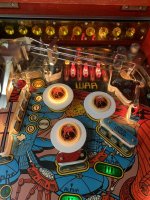
Damaged one of the pop bumpers a while back while thumping the playfield trying to get a reset
Also the pop caps were glued in which made it impossible to replace the lamps without breaking the caps, guess they were loose.
Also fitted a set of rubbers.
Fresh looking pop bumpers
Also the pop caps were glued in which made it impossible to replace the lamps without breaking the caps, guess they were loose.
Also fitted a set of rubbers.
Fresh looking pop bumpers
Attachments
Fitted MadNats speaker prototypes To my Simpsons using his feed frenzy board and WOW!
A video explains them better and if anyone interested get in touch with Mike (Madnat) for details.
A video explains them better and if anyone interested get in touch with Mike (Madnat) for details.
Fitted MadNats speaker prototypes To my Simpsons using his feed frenzy board and WOW!
A video explains them better and if anyone interested get in touch with Mike (Madnat) for details.
Great vid - and such a cool setup Col - thanks for sharing.
For folks interested in doing the same - the board is available in the classified section. Happy to help supply and setup.
Cheers
Mike
Super lovely work @MadNat knocked it out of the park with your first mod. I'll be installing the Feed Frenzy w/ @Colywobbles speaker lights in my new FT refurb - it would be rude not to!
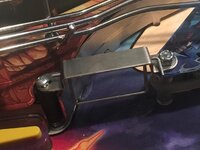
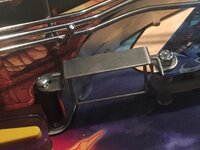
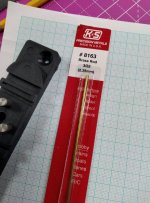
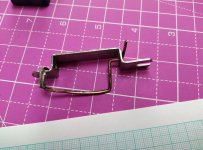
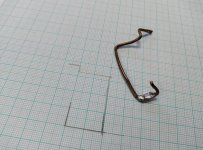
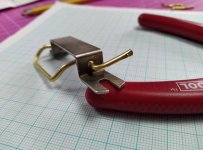
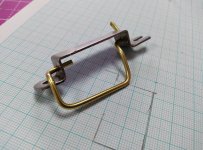
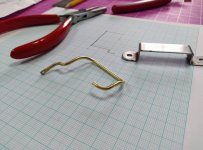
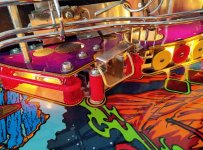
Replaced the gnarly mist gate that's been on my BSD since I've owned it.
Attachments
-
 IMG_20210305_122311MP.jpg134.2 KB · Views: 40
 -
 IMG_20210305_104550MP.jpg138.6 KB · Views: 32
 -
 IMG_20210305_134727MP.jpg184.4 KB · Views: 29
 -
 IMG_20210305_114743MP.jpg121.1 KB · Views: 30
 -
 IMG_20210305_124012MP.jpg167.4 KB · Views: 30
 -
 IMG_20210305_112811MP.jpg164.3 KB · Views: 37
 -
 IMG_20210305_125934MP.jpg212 KB · Views: 40
Replaced the gnarly mist gate that's been on my BSD since I've owned it.
Surely that left hand side is supposed to feed through from the inside of the bracket rather than the outside (that way it wouldn’t be resting against the post rubber.
(See photo for example of what I mean)
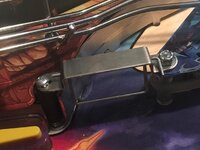
Sent from my iPhone using Tapatalk
Surely that left hand side is supposed to feed through from the inside of the bracket rather than the outside (that way it wouldn’t be resting against the post rubber.
Yeah you'd think that was the correct wire form but seems to be by design (see product pic from a supplier).
It's possible I've made it a couple of mm too wide so its more exaggerated.
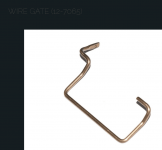
That's a one way gate, the mist gate is bi-directional...
Can’t be if it’s resting against the post rubber??
Sent from my iPhone using Tapatalk
It's not bi directional, it lifts to let the ball out and lifts to let it back in.
It's not bi directional, it lifts to let the ball out and lifts to let it back in.
ok you got me Daz.
D
Deleted member 2463
Great vid - and such a cool setup Col - thanks for sharing.
For folks interested in doing the same - the board is available in the classified section. Happy to help supply and setup.
Cheers
Mike
Does it work with individually addressed LEDS?
That's exactly what it is Neil.. WS2812B in this example. Other versions of LED's also supportedDoes it work with individually addressed LEDS?
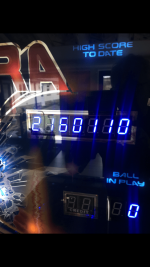
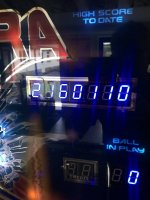
That looks lovelyElektra gets some nice new Blue score displays.
it has an extra one, so 6 units all in all View attachment 134727View attachment 134728
View attachment 134729

Blue is my new fave colour. just about to make up another set for Stern Lightning.
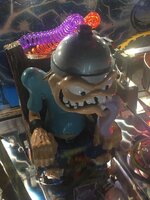
Well I've never liked Bigfoot. It's not that he's scarey, it's just that he looks like a bleeding paedo. I'm not having it anymore.
So thanks to @James and his very wonderful Pinball Bazaar I got some nice snowy boulders, and thanks to eBay I got a very fluffy Bumbles to go with them. Hello Abominable Snowman, and sod off paedo:
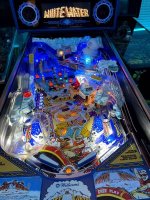
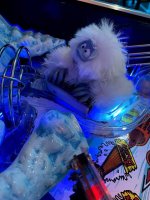
It's all fuly reversible so Paedo can easily be restored at any time. Original boulders not for sale in case I ever come to sell the machine and I want it to be factory.
So thanks to @James and his very wonderful Pinball Bazaar I got some nice snowy boulders, and thanks to eBay I got a very fluffy Bumbles to go with them. Hello Abominable Snowman, and sod off paedo:


It's all fuly reversible so Paedo can easily be restored at any time. Original boulders not for sale in case I ever come to sell the machine and I want it to be factory.
Got it all working so today was strip down day, top first. Already had one go with the cutting compound on slow to make sure all was ok then took the pic, gave it 2 more lots of cutting increasing the speed each time. Then waxed with Collinite Insulator wax.
Mylar was dead looking so gave it a cut & polish with my machine I use on cars then waxed it.
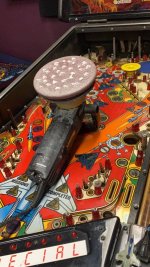
Mylar was dead looking so gave it a cut & polish with my machine I use on cars then waxed it.

Attachments
Last edited:
BOB face guides & Putting my 1st laser fire out!
As they say every day a school day and just as well I never left it unattended as it was a 30min job cutting some BOP 10mm face guides.
So due to the high power setting, slow cut speed and having the jobs too near each other not only did the acrylic start to ignite but my home made wood catch tray did too!
Had to start all over again with catch tray removed, jobs separated more, air assist raised and smaller batches to be safe.
Got there in the end 2hrs later but happy with outcome as 1st 10mm Acrylic job came out well.
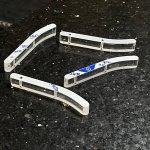

playing with fire , that 10mm stuff isn’t called widow maker for nothing !!!!! 


