What's new
Pinball info

Register a free account today to become a member! Once signed in, you'll be able to participate on this site by adding your own topics and posts, as well as connect with other members through your own private inbox!

Today I worked on......

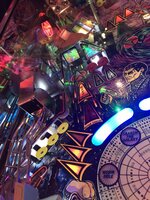
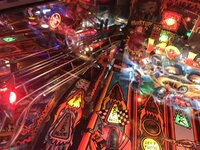
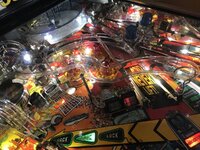
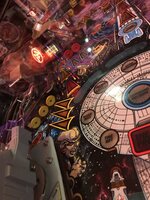
I've just LED'd the playfield inserts on my Xenon. On the whole I'm pro LED but I don't usually see the need on older machines. However the inserts on the CPR playfield I fitted to this machine are really see through, you can clearly see all the bulbs through them which leads to all the colours being very pale. Anyway, I thought I'd try colour matching the inserts with comet LED's after buying and fitting the Siegecraft classic stern/bally LED adapters. Without these adapters LED's flicker like crazy on these old machines, from what I understand using these is basically the same as soldering a resistor to every lamp holder, just much easier. I'm very happy with the result ( probably annoyed @DRD though ;) )

View attachment 68824
Im confused. How can adding a resistor make LED's not flicker?? Thats usually done by a rectifier or capacitor (or combination of the two)... Surely all a resistor will allow you to do is to bring down the operating voltage if it's a little hot...

Just wondered :D
 
Im confused. How can adding a resistor make LED's not flicker??
This phenomenon is well known on Classic Bally feature lights. The LED bulb doesn't draw enough current for the driving SCR to properly latch, a 470 Ohm resister added in series parallel makes it look like an incandescent is installed and the SCR is happy. The fix is to add the resistors manually, upgrade to Altek lamp driver board or the tidy little adaptors that kevlar is using :thumbs:

Edit. Corrected per comment below for benefit of future searchers!
 
Last edited:
The resistor is added in parallel not series to the lamp. This provides the extra current draw required for the act to latch.
 
First cool weekend for a while, so time for me to stop procrastinating and clean & wax behind the ramps and fit my translucent Titan silicone bits.

No going back now.. just hope I took enough photos for reassembly.. :oops:

AFBFEF46-7D63-42AC-A82B-B3F48B760358.jpeg

A2628D91-F2DA-47E5-81E7-0394808DAE47.jpeg
 
Decided to get to grips with my GQ-4x4 programmer today and it has been all day! First off would not work on my main pc (windows 7) would not load drivers as something else was stopping it. Tried on my laptop which runs windows 7 same problem. Tried one of my old laptops running windows xp and hey presto working ok ( 3 hours of my life gone!). Do not mind using the old laptop for this as I do not use it for anything else. Bought some M27C4001's a while back in the view to update my STTNG, downloaded LX7 from IPDB and burned my first chip, tried it in my STTNG and amazing all worked ok.
Very pleased with this decided that I would like to order some more roms for various machines just to have them on standby.
This is the frustrating bit as I cannot find a list of chip numbers that I need, all seems a minefield when trying to find out what chips to buy.
I would appreciate some help of where to find a list of chip part numbers.
 
Well, put it all back together.. and everything works! It's a miracle. Very fast now with 2 coats of wax :)

There was one casualty.. the Recogniser decal started peeling off, I guess due to my cleaning and waxing, so I peeled it off and need to find a replacement.

Pretty chuffed that the biggest strip down I've done to date didn't go horribly wrong. Nowhere near as competent as most on here, and it took me most of the weekend to do, but still.. gaining confidence.

9611186A-0761-4DD6-8FDC-A4C6F6AE6DDB.jpeg
 
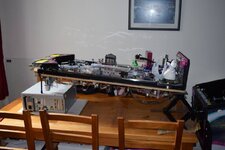
After months of touchups, procrastination, fear and missing weather windows I finally got the spray booth setup in the garden and fired up the compressor for the first time. I ran some tests on Saturday and forced myself to grow some balls and use up the remaining clearcoat I had. So this morning with a raging hangover MMPM got her first coats...


MMPMclearcoat1.jpg
It still needs some work but its getting there.
 
I worked on an issue with my Scared Stiff upper string GI where I had a fuse constantly going. Croc clipped up a 9V battery and put it on as it wasn’t fused so would come on when the fault was found.

After previously stripping the playfield this was a nightmare, I had to take each GI out individually, check wiring, remove the bulb, check for any short by metering out the bulb holder... I eventually found the issue. A faulty LED - which was brand new.

I LED’d this recently and won’t name names but I will only be using Comets going forward.I had one extra orange as opposed to green for the lock light (hence why I bought a comet replacement with my recent work on NF flippers before it went, marked improvement). I also find that when you buy a scared stiff LED kit, I would expect GI, playfield and backbox, nope - each element is separate. My backbox still isn’t done.

Long and the short of it, check your LEDs before the work of putting them in, a 9V croc clipped on an old lamp holder should do it... blinking thing.
 
Code updates:

Dialed in 1.13 to 1.52 what a huge difference and it zapped all of DRD’s crazy 2M+ high scores!
Batman 66
Iron maiden
 
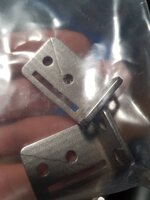
Just fitted these stand up target brackets, bought from @Darthsinex, to the troublesome airball-tastic standups on Ghostbusters. They work perfectly. As well as tilting the targets forward a little they raise the level of the target slightly. Why Stern couldn't get them right after all these years is anyone's guess. Available to buy from here . They aren't cheap but better than using that ugly airball plastic.

s-l1600.jpg
 
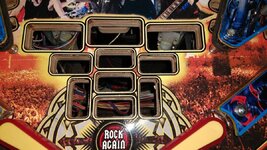
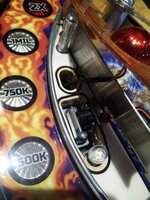
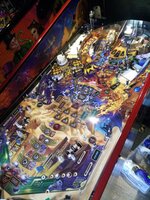
Today I tackled a job I'd been putting off for ages. When I received my ACDC all the inserts in the lower section just in front of the flippers were REALLY raised, frequently affecting ball movement, especially on slow moving balls bouncing between the flippers. I've levelled inserts before warming the glue from underneath then tapping them up or down with a block of wood, mostly on B/W machines ( corvette and BSD spring to mind ) but never on a stern, so tried to level these. I managed to lower them but unfortunately they just wouldn't go down low enough. So today I bit the bullet and after warming them knocked them all out carefully from underneath :eek:. Scary job, 2nd only to pulling mylar. After knocking them out I scraped out all the old glue with a chisel and touched up the keyline around each hole and each insert with a black acrylic paint pen. I filed the bottom of each insert then glued them back in spending ages levelling them. It's not perfect but not far off. Hopefully no more balls magically floating horizontally across the playfield in that area :D

IMG_20180927_110822954.jpgIMG_20180927_232003651.jpgIMG_20180928_105710688.jpgIMG_20180928_120316239.jpg
 
Last edited:
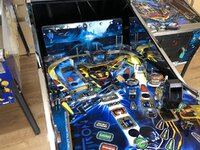
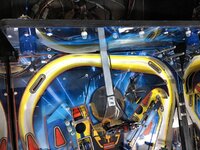
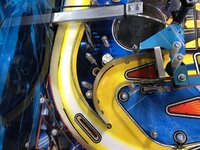
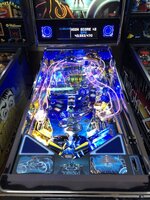
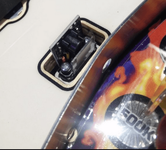
Sorting out the playfield protector and fitting an upgrade from pu-parts for the loop opto.
With the increase in height of the protector it's not triggering the opto when it goes past.
Testing with it now installed it's working great.
Top tip on the playfield protectors is make sure all wax is off that play field before applying. If you think it is then go over it again.
I thought I'd got it all but no.I've ended up using meguiars ultimate polish on it.Now no more mottling effect and hopefully the last time I strip it down for a while.

IMG_20180929_130528.jpg
IMG_20180929_130608.jpg
IMG_20180929_130625.jpg
 
"FOOK" : exclamation given by pinball players when a ball goes SDTM :-)

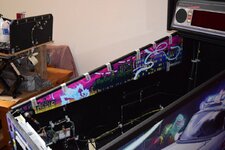
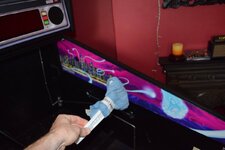
Actually did the following last month but only just got around to posting. Install side art blades and upgraded legs brackets on Ghostbusters Pro.

Don't try this at home kids........

DSC_0060.JPG

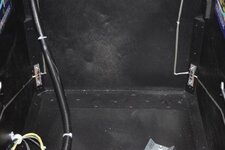
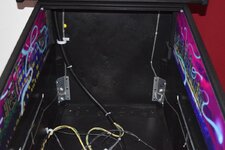
I watched YouTube videos of people installing the art blades without taking out the playfield and it looked like a massive PITA! So considering there's only three cables connecting the playfield to the cabinet decided it was better to remove it.

Lined it up with a bit of tape to get the position right, then peeled off a bit of the backing at a time, sticking it down as I went.

DSC_0061.JPG

Homemade squeegee tool for pressing down the vinyl.

DSC_0064.JPG

Original leg brackets.
DSC_0071.JPG

New leg brackets.
DSC_0073.JPG

And the front.
DSC_0068.JPG
DSC_0070.JPG

Before art blades.
DSC_0358.JPG

After art blades.
DSC_0074.JPG
(also added a 3D printed library model from Mezel Mods.
 
Back
Top Bottom