What's new
Pinball info

Register a free account today to become a member! Once signed in, you'll be able to participate on this site by adding your own topics and posts, as well as connect with other members through your own private inbox!

In Progress Alien Poker - full restoration

It's the year 2124.

Rumour has it on a dark and stormy night you can still hear the sound of rattle cans, if you squint ever so slightly red hair in the distance as a Tombstoned silhouette of a Pinball is eerily lit by the moonlight..

Only yanking your chain Vee...
 
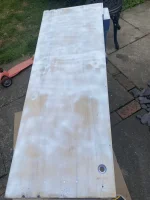
Well, we're back hauling the pin cabinet into the good weather and (brief) work lull. When I last posted, I was deeply unhappy with the smoothness on the sides of the cab I'd sprayed. Turns out I just needed to go over it with a 240-grit sanding disc on my orbital sander, and it now feels like glass.

Sanded cabinet with green goo.webp
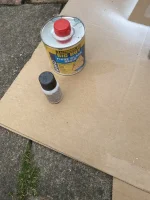
I've also done another round with the 'green goo', which I showed a picture of elsewhere. But, I've posted it again below incase you missed it the first time and are using this shop log as a literal instruction manual (as I have done a few times with other people's shop logs).

The 'green goo' is more technically named 'Big Boy Fibre Glass Resin' and is a two-part mixture that comes in a pot with a sheet of glass fibres, a mixing pot and a brush. You're supposed to mix the green liquid in the big can with the 'solidifier-ery-stuff' in the small bottle at a ratio of 100:3. No idea how you'd measure that out, though, so I just covered the bottom of the pot with green liquid and then added three drops from the little bottle. That has worked so far (famous last words) 🤞

Green goo pot.webp

Now just going to spray the other exposed sides of the cab, and then catch up with work emails for 70-90 minutes while I wait for it to dry...
 
Back after lunch sanding with the 240-grit disc sandpaper. I’ll probably condense much of the rest of this bit of the job, because there’s a lot of ‘sand, spray, fill, sand…’ on different surfaces.

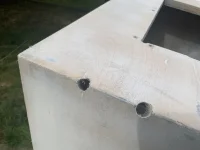
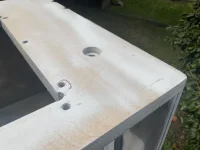
A bit of a metaphorical question, though. There are obvious visible chips in places that definitely need filling. However, a lot of the wear and tear is on the edges of the pin where the legs/side armour/coin door would normally sit. I’m thinking “on one hand I should fill this because it’s damage to the cab. But, on the other hand, it’s a massive amount of work when literally no one is going to see this unless they take off the legs and/or take the pin apart.”

IIRC @FinalFight and I were chatting about this issue at Pinfest :) There are restorations where people colour-code wires, chrome all the parts under the playfield, etc. But, at the same time, who is going to lift the playfield just to marvel at this stuff? Does it really need doing if the pin looks nice and, more importantly, works? And, to be honest, I don’t know the best answer…

IMG_5359.webp
 

Attachments

  • IMG_5358.webp
    IMG_5358.webp
    70.7 KB · Views: 5
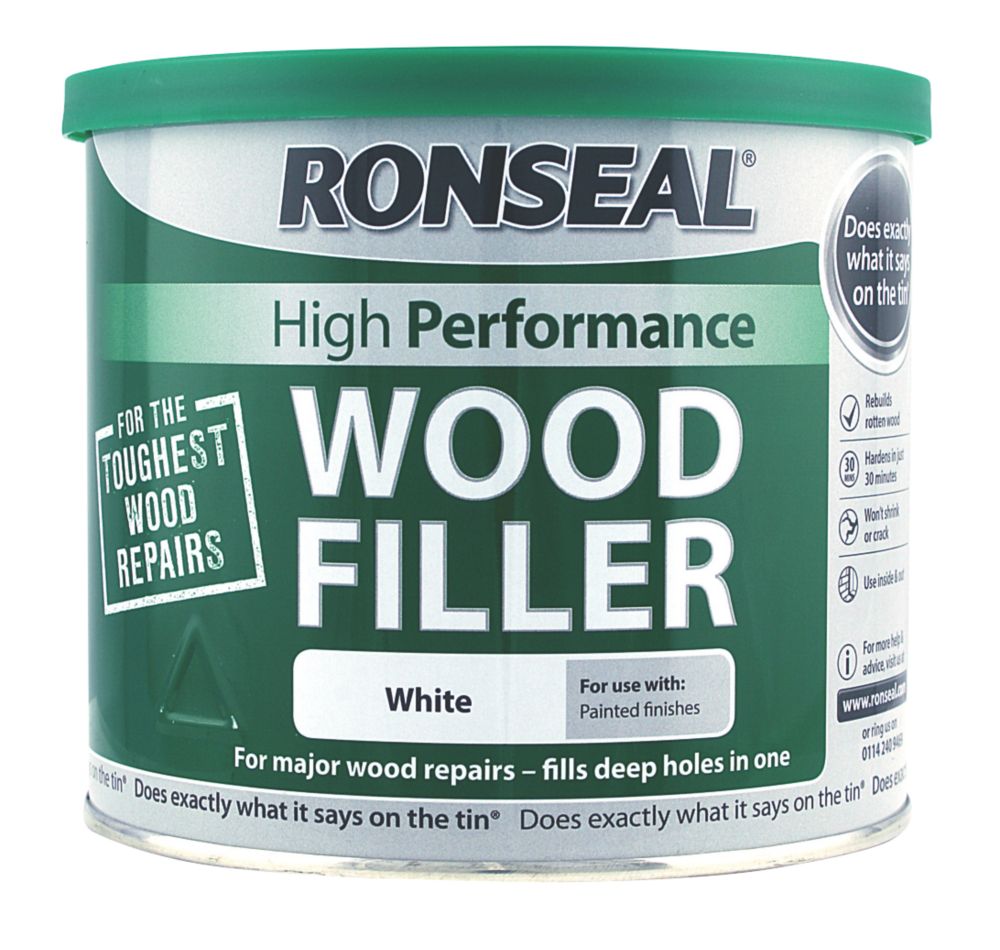
Hi Vee :) any little chips I would just use ronseal 2 part wood filler it still uses a little resin, the bigger damage pure resin is best.
The cabinet you do want to get a good finish after all the hard work you put into it so I think it will be worth sorting :)
Yeah like we was talking about all the extra bits don't really need doing as long as they are clean free from rust and working 🙂 it does look cool but it's extra cost that's not essential.

Thanks :) I think I have some two-part Ronseal wood filler in the cellar that I used for fixing a door…!

I agree if it’s worth doing, it’s worth doing properly but, in the immortal whine of my four year old, “it taking a LOONGGGG time” :)
 
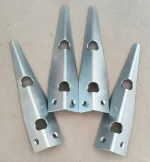
No those are rubbish and only good for covering existing damage, you want the metal ones that screw into the cab after you've stencilled and clearcoated it. Like these Pinball-cabinet-protectors.webp
 
 
There’s different levels of restoration. I always say to do it to the best you your ability or budget.

However I’ve learnt from past mistakes myself that if you want to restore anything, don’t cut corners, especially on the basics like prep work and do things right even if it takes you longer to do, as you only want to be doing it once.

The worst thing is doing all that work, then finishing a project to stand back and think, “I wish I did that instead” or “I should have done it that way” By then it’s to late.
 
Last edited:
Back
Top Bottom