Pinball info
You are using an out of date browser. It may not display this or other websites correctly.
You should upgrade or use an alternative browser.
You should upgrade or use an alternative browser.
Complete Fish Tales Playfield Resurrection - Gone Fishing, Leave a Message....
- Thread starter myPinballs
- Start date
Looks outstanding! At what point does a 'shop' become a complete re-build. Always wondered where you draw the line on cleaning or just replacing (Thinking about 'Triggers' broom here - If you know what I mean)
I always replace all 'service' parts, which includes all new star posts, nuts, screws, bolts, flipper mechs, coil sleeves, pop bumber yoke and fibre etc I then decide how much further i want to go depending on the condition of the rest of the game after a full disassembly and clean. i.e. new plastic set, new ramps etc I call this a restoration myself. Anything less is more of service in my mind. Just my personal view though. The aim of this thread is just to inspire people to get stuck in on possible items that they may not have previously thought were salvageable and also what you can do if space is an issue in your games room.
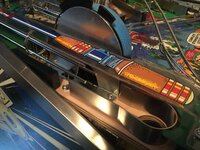
Moving on to sorting out the main boat ramp. Full disassembly and mylar removal
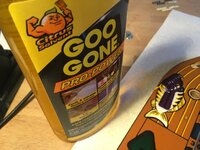
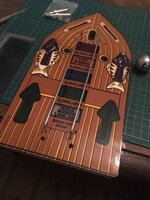
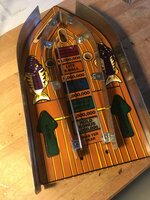
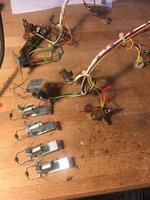
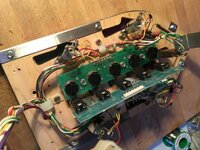
The next task is to sort out the loom. This one needs a full replacement of lamp holders as they suffered with corrosion.
And cleaning up the playfield plastics
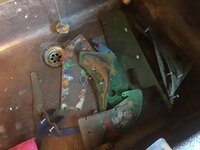
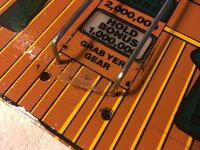
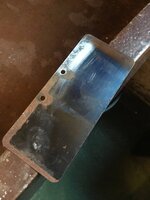
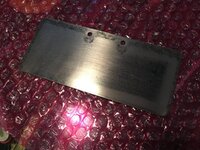
Also have some ideas on how to sort out the metal flap blued steel. Is rusty so am sanding down then will re blue it.


The next task is to sort out the loom. This one needs a full replacement of lamp holders as they suffered with corrosion.
And cleaning up the playfield plastics

Also have some ideas on how to sort out the metal flap blued steel. Is rusty so am sanding down then will re blue it.

Attachments
Some more updates on progress
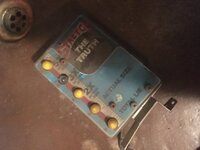
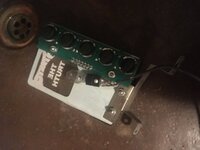
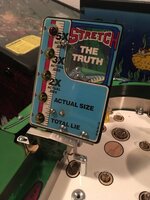
Stretch the truth sign restored
Sorting out rusty lamp holders for the boat ramp
Sorting out rust on the boat ramp metal flap, before re-bluing the steel
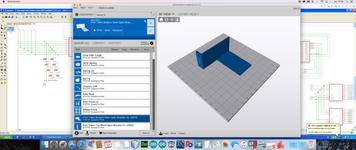
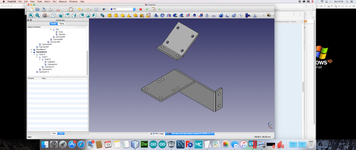
Started to redraw the missing parts i need for the reel mechanism. I have 'inherited' a 3D printer so am going to make some using this to try
Stretch the truth sign restored


Sorting out rusty lamp holders for the boat ramp

Sorting out rust on the boat ramp metal flap, before re-bluing the steel

Started to redraw the missing parts i need for the reel mechanism. I have 'inherited' a 3D printer so am going to make some using this to try

Awesome work Jim. Look
Forward to seeing the results
Forward to seeing the results
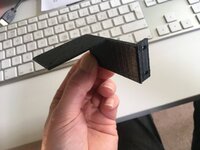
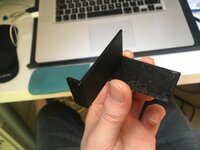
How sturdy is it Jim?
How sturdy is it Jim?
Amazingly strong on the standard settings i'm using right now, but you can increase the density and fineness of the prints. I'm just experimenting at the mo. Also these brackets are purely to support 2 paris of optos nothing more so that the game can determine the position of the reel etc but i think they could support coils and all sorts. The wall thickness is just 2mm at the mo aswell.
Cool. It's still like witchcraft to me. Incredible really.
What make is your 3d Printer ? looks like it could do with a bit of tweaking of the settings to make the finish smoother (although not needed here i guess) the lines on your part are normally from either extrusion fluctuations of heat fluctuation.
First test print assembly after a few refinements with sizes for the reel opto brackets
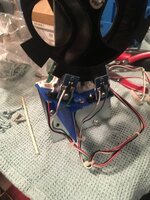
Boat ramp underside reassembly now completed
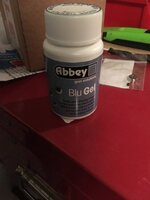
Came up with a method for 're-bluing' the ramp flap plate as was badly rusted and need to be sanded down. I found some stuff you can buy that is designed for colouring gun barrels!!
Now waiting for some parts to arrive. New clear plastics and some other things that i'll share later

Boat ramp underside reassembly now completed

Came up with a method for 're-bluing' the ramp flap plate as was badly rusted and need to be sanded down. I found some stuff you can buy that is designed for colouring gun barrels!!


Now waiting for some parts to arrive. New clear plastics and some other things that i'll share later
stuff you can buy that is designed for colouring gun barrels!!
Don't get that sh*t on your hands dude
 Gloves definitely required!
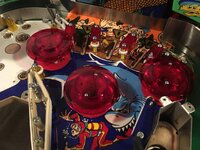
Some more pics of reassembly. New set of pop caps courtesy of pinball mania. The old ones were a little too dull even after cleaning.
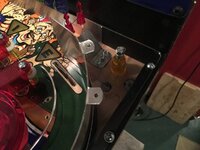
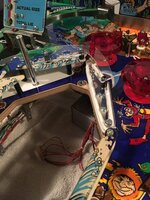
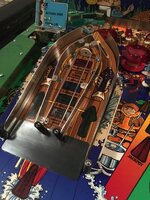
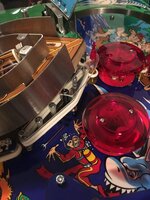
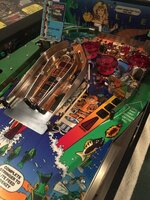
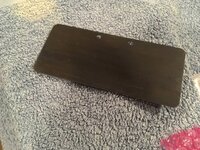
Ordered a new set of clear plastics to fit after cleaning my old ones and realising they were much yellower than i first thought. Ordered a set from ebay and was pretty excited to receive them as they were holding up the reassembly of the main boat ramp as pictured above. Set was good quality but on inspection one of them was missing and not pictured on the listing photo. What is the point of making replacement clear plastics if you don't include them all?????


So i nice simple quick job turned into a long one as i then decided the best thing was to make this missing piece myself. Sometimes i really wonder why people bother making parts if they can't be bothered...
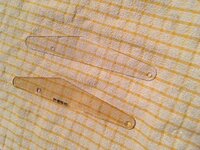


Ordered a new set of clear plastics to fit after cleaning my old ones and realising they were much yellower than i first thought. Ordered a set from ebay and was pretty excited to receive them as they were holding up the reassembly of the main boat ramp as pictured above. Set was good quality but on inspection one of them was missing and not pictured on the listing photo. What is the point of making replacement clear plastics if you don't include them all?????
So i nice simple quick job turned into a long one as i then decided the best thing was to make this missing piece myself.


Attachments
Few new pics to add here from recent progress. Playfield is nearly back together now. Waiting for the main ramps to come back from the chrome platers then can complete the final assembly jobs before installing in tot he dr who cab and playing another game 
Reel mech is completed with my custom opto bracket. Handy to have a 3d printer when you need one.
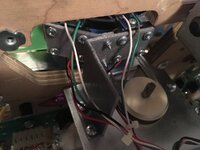
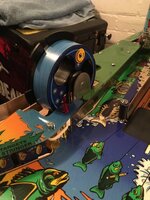
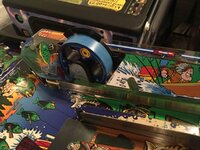
Also cleaned up the last main plastic which fits over the reel mehc and the lhs
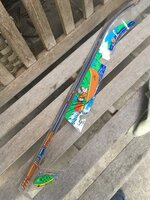
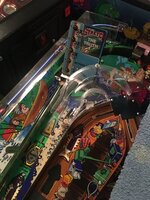
A new clear boat ramp and a set of clear plastics was also bought and installed. All new microswitches were installed using the white button variety that i sell.
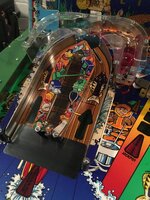
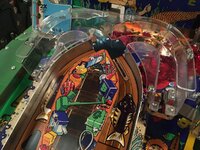
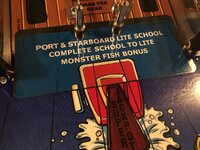
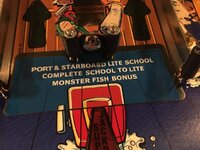
The rebleud metal fall turned out nice. I have a new sticker from pinball heaven to fit here
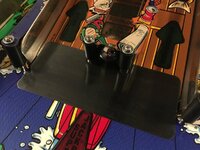
More pics of where we are now
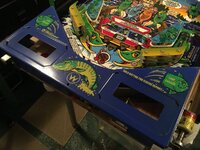
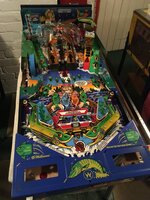
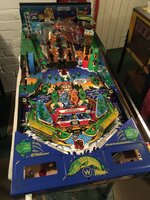
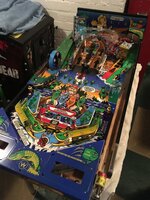
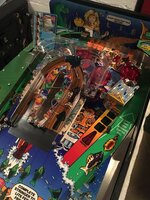
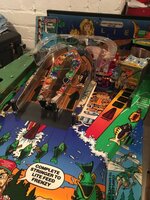
Reel mech is completed with my custom opto bracket. Handy to have a 3d printer when you need one.


Also cleaned up the last main plastic which fits over the reel mehc and the lhs


A new clear boat ramp and a set of clear plastics was also bought and installed. All new microswitches were installed using the white button variety that i sell.


The rebleud metal fall turned out nice. I have a new sticker from pinball heaven to fit here

More pics of where we are now


So nice it deserves it's own cabinet.
Loved Fish Tales when it was in a pub near me around 1994
Small update. My wireform rails are done and back from the platers. Collecting on saturday. This is the last set of parts needed, so should be able to complete the playfield assembly and install into my Dr Who cab next week. Stay tuned. More pics and vids coming as i get it setup and playing 
Will be going through the process of how to swap a different playfield into a cabinet, game roms change, sound rom change etc etc
Will be going through the process of how to swap a different playfield into a cabinet, game roms change, sound rom change etc etc
Todays the day where we may get this completed and into the cab for some test and game play!
Wireforms were picked up saturday evening. Turned out pretty good, will post more about these later as a few things to note on, but check out the pictures of the condition of them before!!
Some pics of first wireform going in (the long reel eject one)
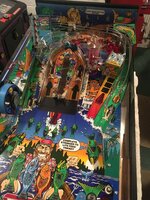
Pics of the freshly chromed wireforms to install today.
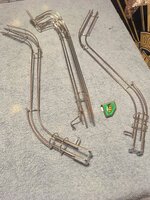
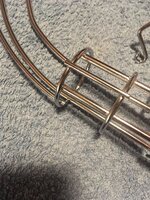
Next up was to replace the ball lock microswitch, reattach to the wireform along with the cover plate ready to go back in the game. Particularly happy with my new diode install and wiring (geeky smile)
Next thing i need to do is adjust the 3d printed bracket i made earlier as one of the optos is in the wrong place for the reel guard side plate. Something that couldn't be checked until now as that was being re-plated in zinc
Wireforms were picked up saturday evening. Turned out pretty good, will post more about these later as a few things to note on, but check out the pictures of the condition of them before!!
Some pics of first wireform going in (the long reel eject one)

Pics of the freshly chromed wireforms to install today.


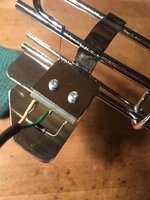
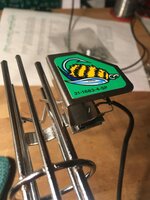
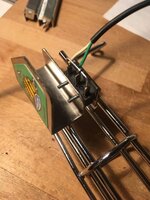
Next up was to replace the ball lock microswitch, reattach to the wireform along with the cover plate ready to go back in the game. Particularly happy with my new diode install and wiring


Next thing i need to do is adjust the 3d printed bracket i made earlier as one of the optos is in the wrong place for the reel guard side plate. Something that couldn't be checked until now as that was being re-plated in zinc
Right Then. Big post coming up and long bloody day!!!
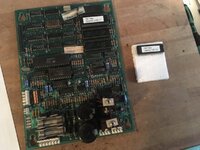
First thing i did was get my spare sound board repaired and install a new fish tales sound rom. I already had a fish tales game rom waiting. If i had a spare cpu board then i would have installed into that to keep the dr who one separate and keep my high scores.
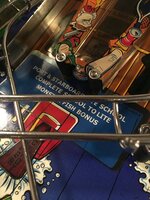
Next up was to install the decal for the board ramp flap. Nice quality sticker, but the colours were a little off and i couldn't line up all the artwork at once so went for a best fit. Made sure not to overhand the metal flap as i didn't want it wearing like on the originals
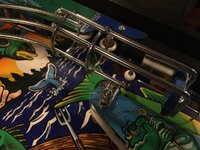
Installed the remaining wireforms and marked the playfield as complete (apart from a set of flippers to put in later)
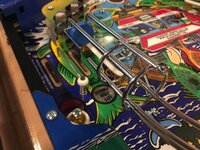
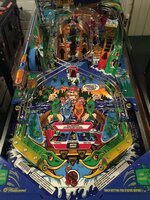
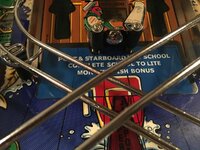
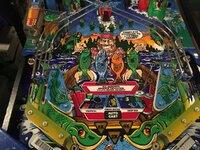
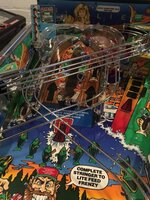
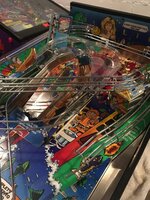
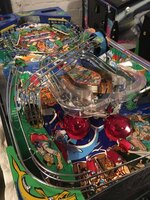
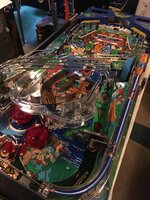
Now begins the playfield swap over!
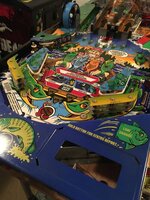
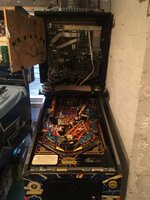
This is what i started with
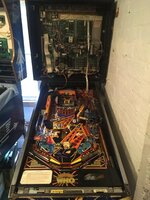
First i removed the dmd panel and insert door for easier access to the backbox wiring
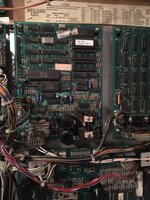
Installed the spare sound board from earlier
Disconnected the dr who playfield connectors
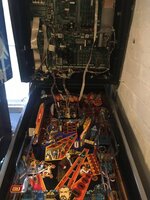
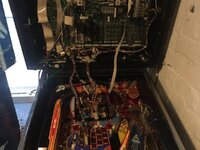
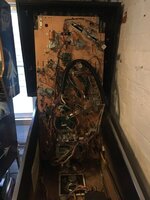
Remove the dr who playfield (2 people needed) and its a bit of a tw@t to do as this era isn't a slide forward type playfield. Its the fixed single point rotation type.
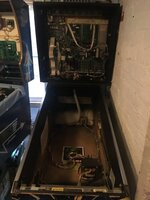
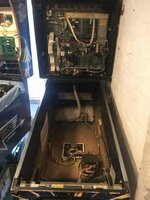
Offered up the fish tales playfield and installed.
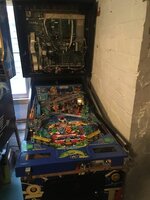
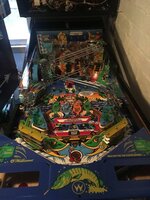
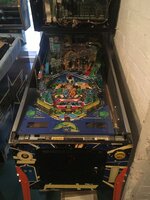
Noticed that my fears were confirmed and that the fixed type cabinet playfield supports are not in the same position as the playfield slide type (which fish tales uses).
Playfield did install and i could get the glass back on , but something didn't look right and after a bit of inspection it was sitting too high up. Was a bit ****ed off as it knew i was going to have to take the playfield back out and work out how to modify the playfield supports!
Spent an age getting the playfield back out as it really did not want to come back out due to the mismatch of support positions!!! God damn it.... !!!
Put a 'help' post up on here asking for the cabinet centres on later cabs. And got a reply very quickly!! Thanks pinball info and @clive2017. Using the measurements i marked up the dr who cab for the new holes needed. Out came the drill and then made the changes. reinstalling the old parts int he new holes. Also i had to 'make' some new parts using smaller coach bolts for the release posts as i didn't have any spares. I will get the correct parts eventually, but these parts will do for now.
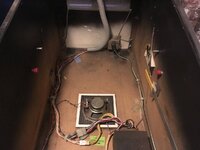
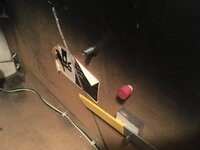
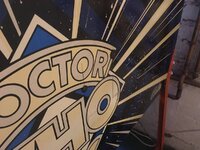
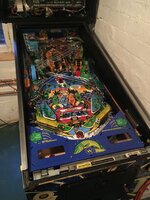
Reinstalled the fish tales playfield which was much easier now. And now looked spot on
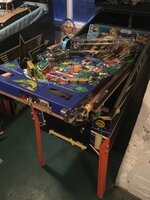
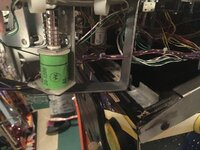
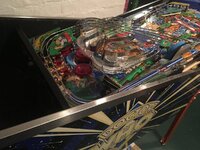
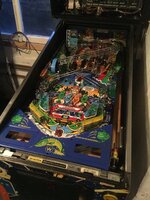
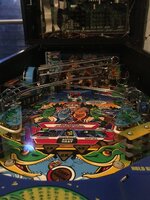
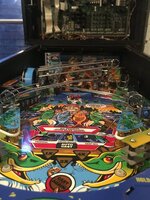
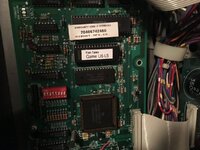
Installed the new game rom
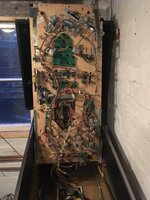
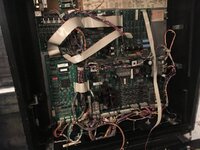
Connected up the fish tales playfield in the backbox
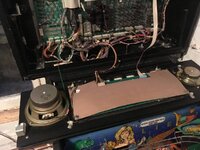
And we are done! Now writing this and having a break with a brew before the big switch on!!!!!
First thing i did was get my spare sound board repaired and install a new fish tales sound rom. I already had a fish tales game rom waiting. If i had a spare cpu board then i would have installed into that to keep the dr who one separate and keep my high scores.

Next up was to install the decal for the board ramp flap. Nice quality sticker, but the colours were a little off and i couldn't line up all the artwork at once so went for a best fit. Made sure not to overhand the metal flap as i didn't want it wearing like on the originals


Installed the remaining wireforms and marked the playfield as complete (apart from a set of flippers to put in later)


Now begins the playfield swap over!
This is what i started with

First i removed the dmd panel and insert door for easier access to the backbox wiring

Installed the spare sound board from earlier

Disconnected the dr who playfield connectors


Remove the dr who playfield (2 people needed) and its a bit of a tw@t to do as this era isn't a slide forward type playfield. Its the fixed single point rotation type.


Offered up the fish tales playfield and installed.


Noticed that my fears were confirmed and that the fixed type cabinet playfield supports are not in the same position as the playfield slide type (which fish tales uses).
Playfield did install and i could get the glass back on , but something didn't look right and after a bit of inspection it was sitting too high up. Was a bit ****ed off as it knew i was going to have to take the playfield back out and work out how to modify the playfield supports!
Spent an age getting the playfield back out as it really did not want to come back out due to the mismatch of support positions!!! God damn it.... !!!
Put a 'help' post up on here asking for the cabinet centres on later cabs. And got a reply very quickly!! Thanks pinball info and @clive2017. Using the measurements i marked up the dr who cab for the new holes needed. Out came the drill and then made the changes. reinstalling the old parts int he new holes. Also i had to 'make' some new parts using smaller coach bolts for the release posts as i didn't have any spares. I will get the correct parts eventually, but these parts will do for now.


Reinstalled the fish tales playfield which was much easier now. And now looked spot on


Installed the new game rom

Connected up the fish tales playfield in the backbox


And we are done! Now writing this and having a break with a brew before the big switch on!!!!!
Attachments
Awesome work!!! Can't leave it like that..........how did the switch on go??
Looks stunning!
Dunc
Looks stunning!
Dunc
Awesome work!!! Can't leave it like that..........how did the switch on go??
Looks stunning!
Dunc
Not switched on yet, but will be updating later on how it goes plus thoughts on hooking up some of the insert and topper flasher drives. May need to make come custom cable adapters, or I may get a ft insert panel and translite
Doing a driver board connector check this morning with fresh eyes. Was a long one yesterday
Boot up went smooth
some pics of testing things. I had some bulbs out which needed them taking out and turning round and putting back in. Also a few blew on first power up, but al good now. Seems sometimes the old holders need some settling down after a first power up. Also needed to adjust the drop target high and reset coil and the reel bracket position i made slightly
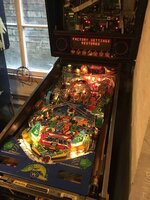
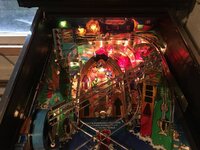
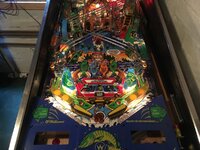
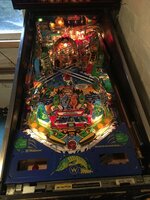
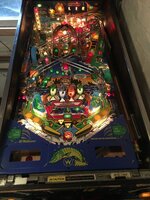
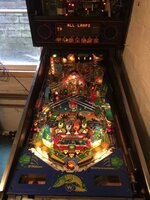
Flippers installed (standard for now)
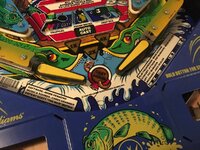
Final opto position for reel bracket. This guide bracket meant some tweaking was needed.
Reel opto test
Sound test
some pics of testing things. I had some bulbs out which needed them taking out and turning round and putting back in. Also a few blew on first power up, but al good now. Seems sometimes the old holders need some settling down after a first power up. Also needed to adjust the drop target high and reset coil and the reel bracket position i made slightly


Flippers installed (standard for now)

Final opto position for reel bracket. This guide bracket meant some tweaking was needed.

Reel opto test
Sound test
Afternoon @myPinballs
Im in the process of prepping a fish tales for and am missing the opto unit on the reel (brackets and sensors). Im looking to fabricate something myself but I have just seen that you knocked up a 3D printed one here with great success.
Any chance I could nab a copy of the file so I can get some measurements ?
Also rather then use the original sensor type would these be suitable https://uk.rs-online.com/web/p/slotted-optical-switches/9087135/ as I already have some ?
Thanks,
Guy


