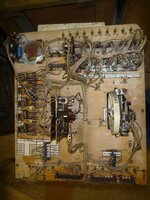
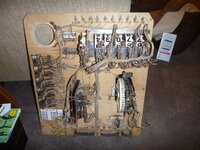
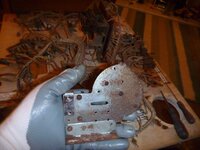
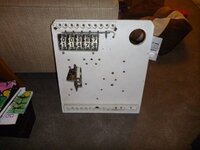
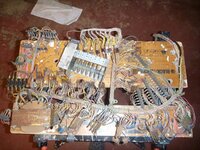
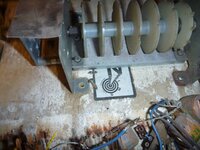
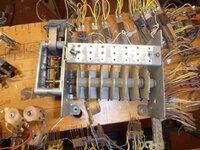
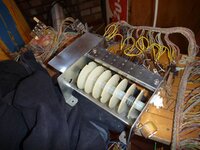
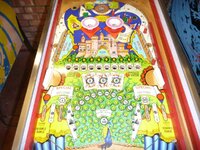
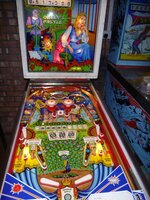
I will update this log as I go through the sorting out of this rusty, chewed up EM.
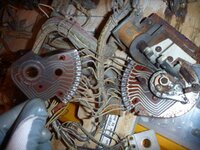
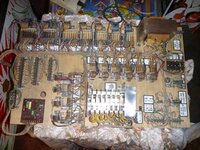
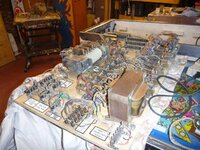
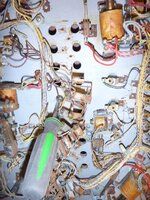
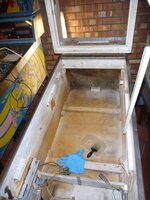
I bought a Zac Queens Castle EM machine over three years ago. It must have been stored in very damp conditions. It had layers of white furry fungus on the inside, loads of rust, even the plastic was rusting J seriously though some of the metal work was that bad that it was stuck to the wood with rust as tight as of it was screwed in!
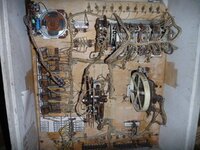
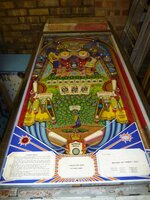
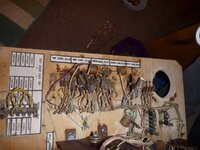
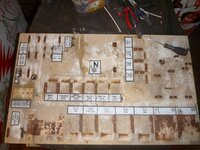
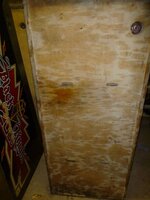
One area i am treating very seriously is where there was a fair bit of wood worm damage on the bottom board. I say was, because i have no 100% way of knowing that there are no bugs left as they can have around a 5 year lifecycle in the wood alone as larvae... So i am treating it s if they were still there. But i have not seen any fresh ‘fras’ or wood worm poo near any of the holes. By the way, the holes you can see are exit holes, made by the beetle as they mature into adults. They then look for light, food and a mate... Sounds like a Saturday night in town!
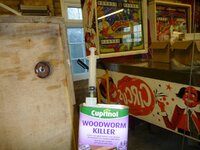
By the looks of the pattern I would say that it had been standing up right with the side of the pin exposed to the elements and bugs. Not enough Wood Worm damage to warrant replacement of the board (thankfully still structurally sound) and very little damage elsewhere. No damage to playfield at all below or above - which is good news. Maybe they were hoping for a game...
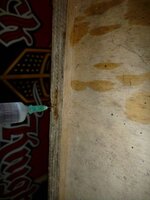
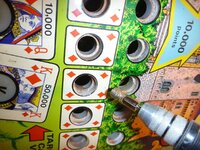
When i first took it back i painted with wood worm killer (active ingredients kills anything that has or will have more than 2 legs) inside and out, and spent hours injecting all holes using a proper medical syringe and needle. I was frit scared of accidentally stabbing myself with it because i am a clutz, no I said Clutz... Look how deep these sods can go - depth of needle!
 +
+
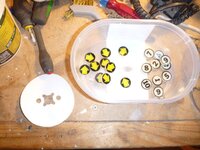
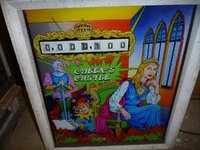
I then stripped the head kit down, triple thicked and touched up the back glass which was not in great shape. I then wire brushed and in some case grinder wheel brushed and then tumbled all the metal work. Then we decided to sell our house and move, so everything went on pause...
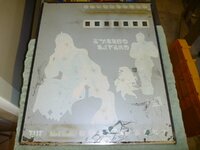
About two year later in the new pad, I gave it another coat of killer. My plan is to keep it for 6 – 7 years at least as the Life cyle of the common wood worm is about 5 years as a grub in the wood, so am starting the counter from when i first purchased it and will treat it every year until the 6th year. Then, assuming no fresh holes, i can assume with a high degree of certainty that there is no wood worm left.
3 years later now and i now have time and room to restart the project. Still no fresh signs of wood worm, sawdust nor signs of attacks on my other pins. I gave it yet another two coast of killer last weekend and have bought some Boron, which I will do again when it warms up. This stops there stomach from working so they effectively starve. All they have to do is eat the wood with Boron on J. I have done a fair bit of research on the little dastards they love Damp and hate dryness. It has not been damp since i have purchased it so hopefully any that are left, they will just dye out through lack of damp wood to eat, the pesticide will kill some on contact. Including eggs while the boran will kill and any that slip through the net. I do not plan on moving it on until 7 years and my treatment is complete. That way i can be sure it is fine.
So wood worm aside, i now have a lot of sweet tins with some better looking metal work to assemble.
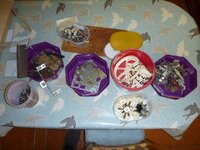
Oh and by the way i have a league meet round mine in a few weeks... So with that in mind i will deep dive the top and bottom boards only, and leave the play field above and below. For the play field I will just get cleaned up, freed up and gapped so it works okay. When the meet is over, i will then strip the playfield and repeat the cleaning process. Lots of sunken inserts so will have to remove and reseat these later. May also clear coat later as i have a PACman table stripped and ready to clear coast so could get both done at the same time. It just depends how much i damage the playfield when reviewing the rusty knackered wire forms and posts. They have to come out to be sorted out 100% and I know from bitter experience that the posts have a habit of shearing, so really looking forward to that...
Next update will be – completed the refit of the hardware and soldering repairs to the top board, and stripped down of the bottom board ready for tumbling and repairs. Less text too - sorry
I bought a Zac Queens Castle EM machine over three years ago. It must have been stored in very damp conditions. It had layers of white furry fungus on the inside, loads of rust, even the plastic was rusting J seriously though some of the metal work was that bad that it was stuck to the wood with rust as tight as of it was screwed in!


One area i am treating very seriously is where there was a fair bit of wood worm damage on the bottom board. I say was, because i have no 100% way of knowing that there are no bugs left as they can have around a 5 year lifecycle in the wood alone as larvae... So i am treating it s if they were still there. But i have not seen any fresh ‘fras’ or wood worm poo near any of the holes. By the way, the holes you can see are exit holes, made by the beetle as they mature into adults. They then look for light, food and a mate... Sounds like a Saturday night in town!

By the looks of the pattern I would say that it had been standing up right with the side of the pin exposed to the elements and bugs. Not enough Wood Worm damage to warrant replacement of the board (thankfully still structurally sound) and very little damage elsewhere. No damage to playfield at all below or above - which is good news. Maybe they were hoping for a game...

When i first took it back i painted with wood worm killer (active ingredients kills anything that has or will have more than 2 legs) inside and out, and spent hours injecting all holes using a proper medical syringe and needle. I was frit scared of accidentally stabbing myself with it because i am a clutz, no I said Clutz... Look how deep these sods can go - depth of needle!

 +
+I then stripped the head kit down, triple thicked and touched up the back glass which was not in great shape. I then wire brushed and in some case grinder wheel brushed and then tumbled all the metal work. Then we decided to sell our house and move, so everything went on pause...


About two year later in the new pad, I gave it another coat of killer. My plan is to keep it for 6 – 7 years at least as the Life cyle of the common wood worm is about 5 years as a grub in the wood, so am starting the counter from when i first purchased it and will treat it every year until the 6th year. Then, assuming no fresh holes, i can assume with a high degree of certainty that there is no wood worm left.
3 years later now and i now have time and room to restart the project. Still no fresh signs of wood worm, sawdust nor signs of attacks on my other pins. I gave it yet another two coast of killer last weekend and have bought some Boron, which I will do again when it warms up. This stops there stomach from working so they effectively starve. All they have to do is eat the wood with Boron on J. I have done a fair bit of research on the little dastards they love Damp and hate dryness. It has not been damp since i have purchased it so hopefully any that are left, they will just dye out through lack of damp wood to eat, the pesticide will kill some on contact. Including eggs while the boran will kill and any that slip through the net. I do not plan on moving it on until 7 years and my treatment is complete. That way i can be sure it is fine.
So wood worm aside, i now have a lot of sweet tins with some better looking metal work to assemble.

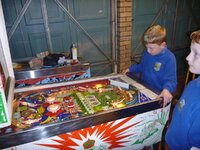
Oh and by the way i have a league meet round mine in a few weeks... So with that in mind i will deep dive the top and bottom boards only, and leave the play field above and below. For the play field I will just get cleaned up, freed up and gapped so it works okay. When the meet is over, i will then strip the playfield and repeat the cleaning process. Lots of sunken inserts so will have to remove and reseat these later. May also clear coat later as i have a PACman table stripped and ready to clear coast so could get both done at the same time. It just depends how much i damage the playfield when reviewing the rusty knackered wire forms and posts. They have to come out to be sorted out 100% and I know from bitter experience that the posts have a habit of shearing, so really looking forward to that...
Next update will be – completed the refit of the hardware and soldering repairs to the top board, and stripped down of the bottom board ready for tumbling and repairs. Less text too - sorry
Last edited:

