Ant-H
Site Supporter
As Road Show seems to be such a popular game for shop logs, I thought I’d add another one to the list 
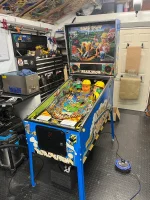
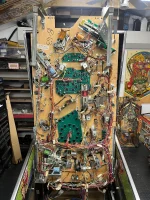
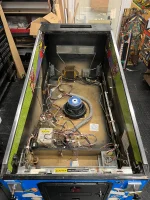
The playfield on this particular game was is really nice original condition with no wear at all to the fish by the scoop.
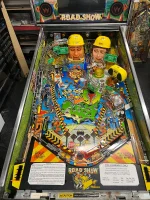
So the plan is to strip and shop and rebuild the playfield with new plastics, Titans and few extra lighting mods.
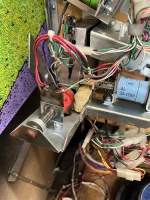
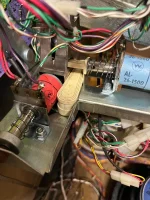
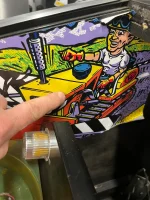
I’ll also service Red and Ted as there seems to be an issue with their mouths as well as the fitment of the big wire form that touch’s Teds head.
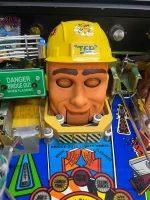
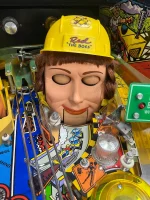
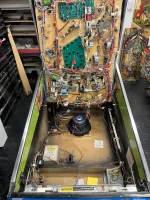
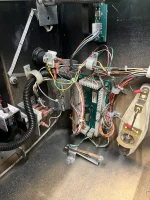
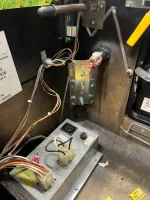
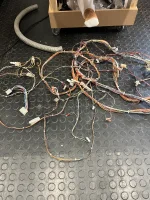
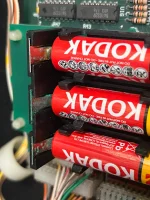
I’ll go through the boards as well as it has a couple of usual burnt connectors. Plus it looks like it had or has started to have battery leakage so I’ll remove them. I’ll also tidy up the wiring as well.
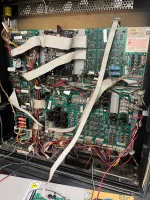

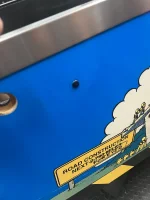
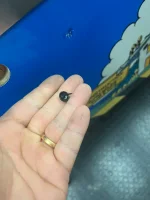
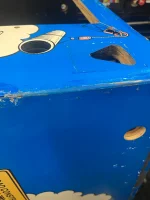
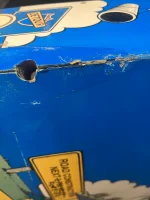
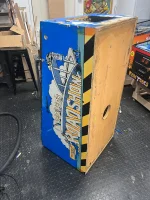
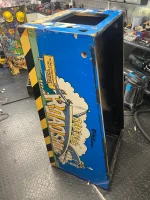
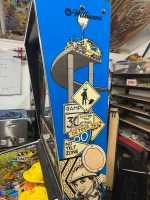
The owner did say that it was the cabinet that needed attention the most, but at first glance it looked pretty good. The decals have the usual fading and there is no major damage to the sides, apart from what looks like a black pin that’s been added to the right hand side.
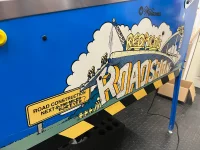
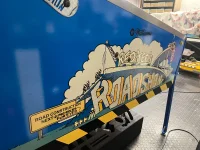
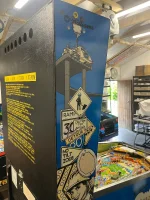
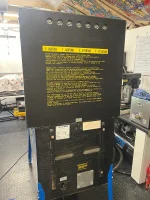
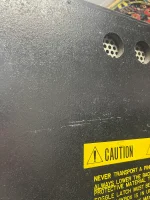
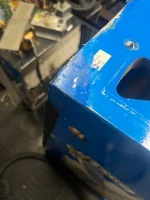
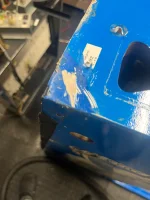
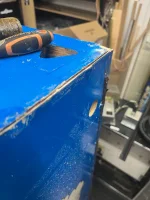
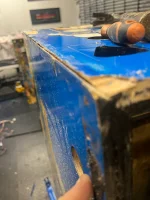
However when I looked a bit closer, I could see what he meant. It’s has sticky chrome trim around the back box which I’ll remove. It also had plastic trim covering all the corners, which usually means they are covering something
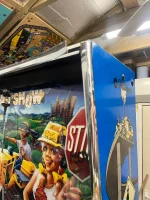
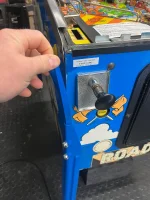
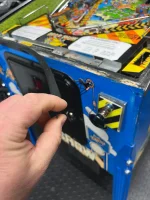
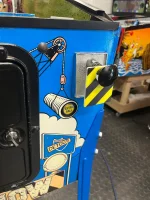
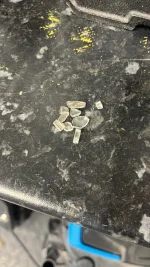
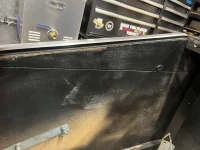
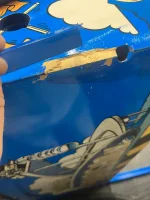
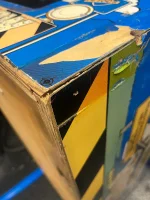
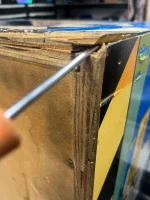
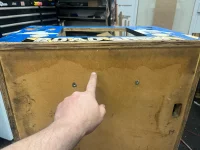
Once removed I could see that they were covering past work.
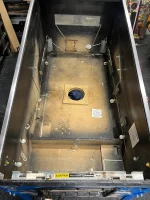
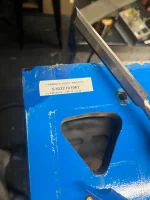
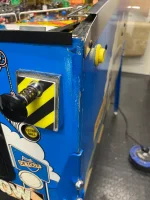 Once it’s stripped down I’ll be able to hopefully see why the filler had been added on the corners but my guess is the front of the cabinet probably has structural issues.
So the plan is fully fix and restore the cabinet, install some silk screen decals and some powder coated armour

The playfield on this particular game was is really nice original condition with no wear at all to the fish by the scoop.

So the plan is to strip and shop and rebuild the playfield with new plastics, Titans and few extra lighting mods.
I’ll also service Red and Ted as there seems to be an issue with their mouths as well as the fitment of the big wire form that touch’s Teds head.


I’ll go through the boards as well as it has a couple of usual burnt connectors. Plus it looks like it had or has started to have battery leakage so I’ll remove them. I’ll also tidy up the wiring as well.


The owner did say that it was the cabinet that needed attention the most, but at first glance it looked pretty good. The decals have the usual fading and there is no major damage to the sides, apart from what looks like a black pin that’s been added to the right hand side.


However when I looked a bit closer, I could see what he meant. It’s has sticky chrome trim around the back box which I’ll remove. It also had plastic trim covering all the corners, which usually means they are covering something


Once removed I could see that they were covering past work.
 Once it’s stripped down I’ll be able to hopefully see why the filler had been added on the corners but my guess is the front of the cabinet probably has structural issues.
So the plan is fully fix and restore the cabinet, install some silk screen decals and some powder coated armour


