What's new
Pinball info

Register a free account today to become a member! Once signed in, you'll be able to participate on this site by adding your own topics and posts, as well as connect with other members through your own private inbox!

In Progress Johnny Mnemonic - Data Glove

thejefu

Site Supporter
5Years
Joined
Feb 13, 2020
Messages
451
Location
Glossop, Derbyshire
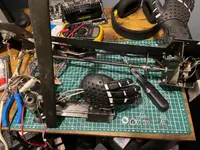
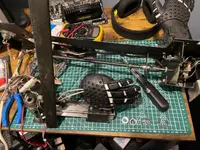
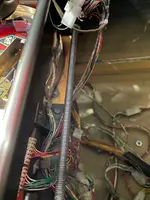
Perhaps the most annoying toy in pinball to service.

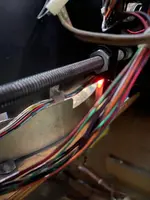
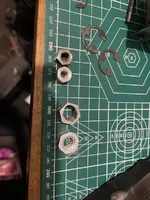
Funnily enough the larger Y nut (that's almost worn itself in half) is fully operational in test mode. It didn't matter that you could see daylight through it, it was still turning perfectly on 1/3 of it's threads. The sag however was making the X nut unhappy.

Gone flawlessly thus far, save for the 3 panel screws in the top left which pinged in half the moment I looked at them.
WhatsApp Image 2025-02-09 at 22.28.38_c0cebbd3.webpWhatsApp Image 2025-02-09 at 22.31.59_ca9ec219.webp
 

Attachments

  • WhatsApp Image 2025-02-09 at 22.05.15_2986540f.webp
    WhatsApp Image 2025-02-09 at 22.05.15_2986540f.webp
    142 KB · Views: 11
  • WhatsApp Image 2025-02-09 at 22.05.15_2986540f.webp
    WhatsApp Image 2025-02-09 at 22.05.15_2986540f.webp
    142 KB · Views: 7
Last edited:
Shiny new nuts installed and some 'discreet' white lithium from a can to avoid the jelly that has a habit of making a mess.

Both motor boxes cleared out and regreased.

Threw it back on the machine despite the 3 screws which actually hold the backpanel in place being snapped and needing drilling out, I opted for strong electrical tape. I wanted to make sure I'd solved the problem prior to take it back off the machine to finish up.


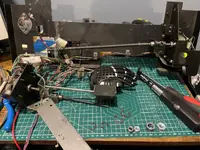
Success! Now to disconnect it all...take it off again...get some new drill bits to drill out those stupid screws. Left to do is a general clean up since I haven't cleaned under the playfield yet.

Thoroughly covered in grease and taking a shower.


WhatsApp Image 2025-02-11 at 00.59.09_72867b40.webpWhatsApp Image 2025-02-11 at 00.59.09_42f1a8fb.webpWhatsApp Image 2025-02-11 at 00.59.09_4eaf8565.webp
 
I will post final images when I get home. But first venting.

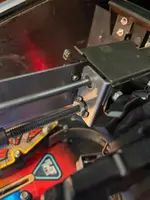
Oh my god the set screws. So the brackets holding the longer rail (left to right) on Johnny Mnemonic is fastened by black set screws with no thread on the head. These are aesthetically pleasing, but every one of the three snapped under mild pressure, probably owed to the weight bearing on these little screws and vibration - or they're just garbage screws. The interesting thing is that these screws aren't in a threaded hole, at least none of the similar empty holes on the backboard are threaded. None the less, the head is atomically fused to the backboard and since the head is flush with the front of the panel, I couldn't attack it for fear of damage.

I tried:
  • Dremelling a thread into the head to remove with a flat head/philips.
  • Clipped the back flush and attempt to pop it out with a it out with a punch.
  • Drilling it out with every metal bit I own, destroyed each one.
  • Screw extraction bits. Nope.
The only solution that worked in the end was some tiny metal drill bits I normally use to drill pilot holes. These went through with a good bit of pressure and then I used the edges like a dremel to carve out the diameter needed to mount new screws. Despite finding the one element on this planet that would go through these set screws, it took a painstakingly long time.

Result? I remounted the bracket using standard cab screws through the drilled out set screws, which now serve as black washers.

Perseverance friends. Perseverance and not getting frustrated and destroying everything in the process - I was tempted.
 
Last edited:
Back
Top Bottom