P
Pinball-Dreams.com
Hi guys and girls,
as promised I want to offer you a first glance of our work. I recently restored a playfield for a guy in Austria - an old Bally Nip It.
I'm going to make a real how to report of a TOM playfield we'll restore for your buddy Rich.
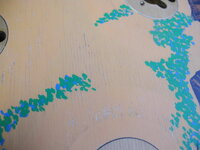
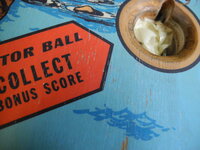
But for a start I wanna show you what it really means to make a playfield genuine again. Especially those old playfields are much work - most of them show wear from just aging: sunk inserts, cracks all over the playfield, old paint, loose wood, different colors from bleaching (....) thats exact the condition this playfield was in...
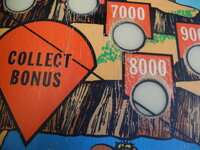
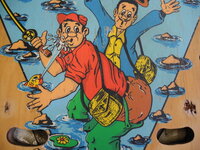
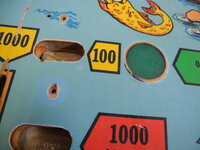
So...what to do ? nothing else but refurbsihing the complete playfield - everything !!!!
The first steps:
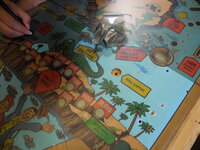
- removing old mylar and simply accept that even more paint will vanish
- cleaning the playfield
- filling the worn parts
- sanding the playfield
- taking out the sunk insert plastics and stick them back again
- applying a first layer of clear coat to have a nice basis
Restoration time so far: 5 hours just for preparing everything
After 10 days of drying - next steps - sanding the playfield again and refubishment can start...
But before that I scaned the complete playfield in order to make stencils for some lettering and so on..
Start:
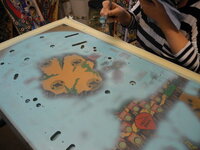
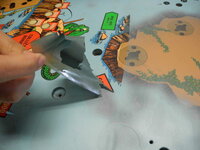
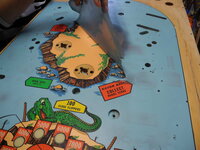
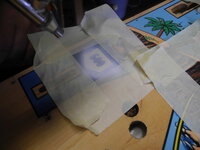
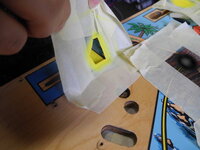
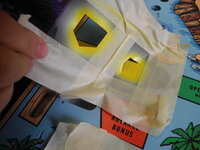
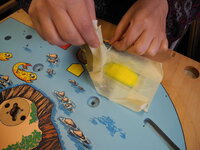
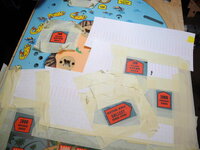
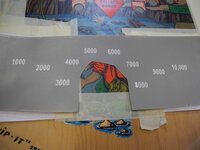
- every "color" is cut out of masking foil and then resprayed - matching the colors is a great task - one must have quite a lot of experience for that...
Lets start over: the orange/ocher colors are brushed first....
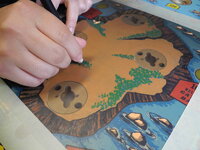
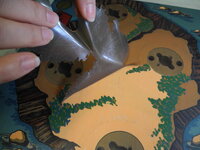
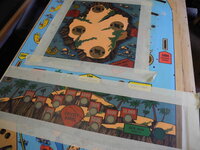
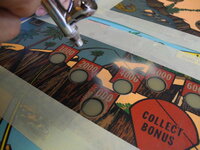
After that the whole blue areas are renewed - already cutting out all these tiny little details simply was a pain in the a*****
 see why...
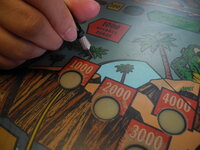
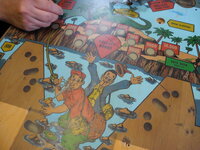
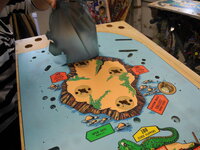
Same procedure with yellow areas - here all the lettering was cut out by hand as well - Diana simply has magic hands

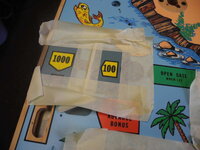
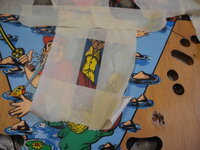
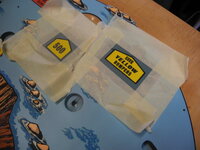
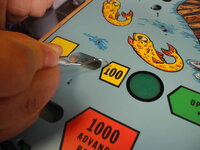
And the red areas....
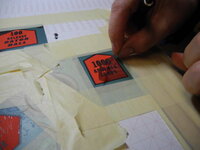
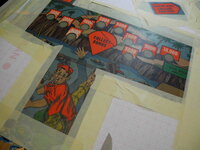
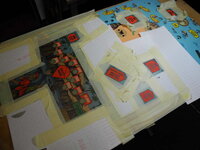
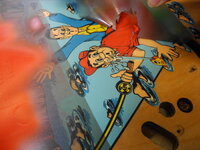
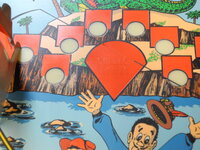
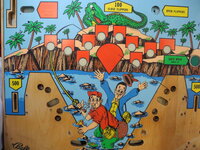
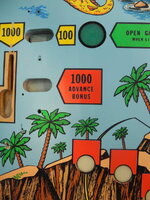
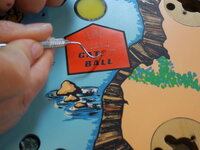
And finally some black insert circles and white letterings are refurbished with stencils..

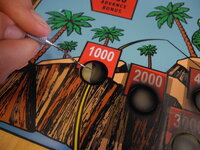
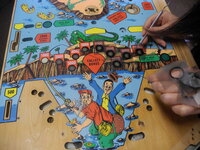
Refurbishing time for that part: 25 hours
Now the final clear coat must be applied. The process of clear coating is not that easy as some might expect - its far from beeing just putting the playfield down and coat it...
It starts by selecting the suitable clear coat. It musn't be too hard otherwise it cracks and the pinball plays like you would play on cement - you can throw away your pinball if this kind of paint is used. The pinball must play like it was before - the original feeling must be maintained...
Our coat is an industrial coat which we found after weeks and months of trial and error.
The clear coating process: we usually clear coat the playfields aprox 3-4 times with 3 layers with aprox 10 minutes of waiting in between
The coat drys after that for 10 days. After that aprox 60-70% of the layer is taken away by sanding the playfield. Reason for that: the inserts are never sealed so that most of the clear coat vanishes at those parts around the inserts. to level this out most of the apllied clear coat is sanded. Likie this we receive a perfect flat surface...
This procedure is repeated as often as needed to receive a perfect result.
FINISHING THE FINAL layer:
After aprox 3-4 clear coats the final layer already looks great but not good enough in our opinion. So the final layer is sanded again with 1000-1500-2000-3000 sanding paper and then polished hig gloss again.
Finally the playfield is sealed with wax - we only use natural wax - no silicone - nothing must be in there.
This playfield will last a lifetime and I'm quite sure the owner will have one of the most beautiful Nip It's on this planet....
Enjoy the results

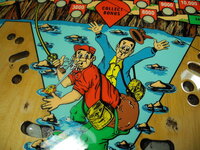

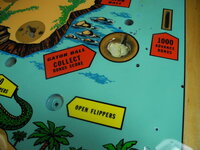
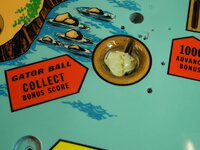
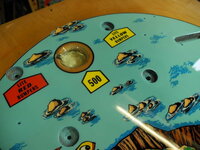
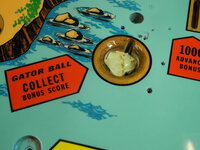
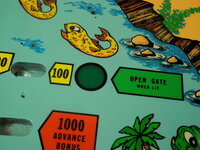
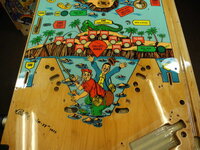
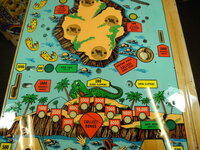
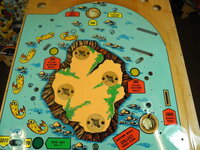
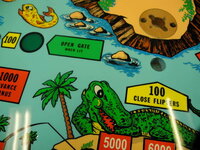

Really hope I could give you a first impression of our work...
Have fun out there
Cheers
Henrik
btw: I forgot something - you surely wanna know prices...price for this work was 900€ - usual playfields (WPC) starting at about 500€ and in average they costs 650-750€
Delievery time: as mentioned before the coats must dry for 10-12 dys in between. So you might guess from that - that you need to wait aprox 12-14 weeks...
as promised I want to offer you a first glance of our work. I recently restored a playfield for a guy in Austria - an old Bally Nip It.
I'm going to make a real how to report of a TOM playfield we'll restore for your buddy Rich.
But for a start I wanna show you what it really means to make a playfield genuine again. Especially those old playfields are much work - most of them show wear from just aging: sunk inserts, cracks all over the playfield, old paint, loose wood, different colors from bleaching (....) thats exact the condition this playfield was in...


So...what to do ? nothing else but refurbsihing the complete playfield - everything !!!!
The first steps:
- removing old mylar and simply accept that even more paint will vanish
- cleaning the playfield
- filling the worn parts
- sanding the playfield
- taking out the sunk insert plastics and stick them back again
- applying a first layer of clear coat to have a nice basis
Restoration time so far: 5 hours just for preparing everything
After 10 days of drying - next steps - sanding the playfield again and refubishment can start...
But before that I scaned the complete playfield in order to make stencils for some lettering and so on..
Start:
- every "color" is cut out of masking foil and then resprayed - matching the colors is a great task - one must have quite a lot of experience for that...
Lets start over: the orange/ocher colors are brushed first....


After that the whole blue areas are renewed - already cutting out all these tiny little details simply was a pain in the a*****


Same procedure with yellow areas - here all the lettering was cut out by hand as well - Diana simply has magic hands


And the red areas....


And finally some black insert circles and white letterings are refurbished with stencils..


Refurbishing time for that part: 25 hours
Now the final clear coat must be applied. The process of clear coating is not that easy as some might expect - its far from beeing just putting the playfield down and coat it...
It starts by selecting the suitable clear coat. It musn't be too hard otherwise it cracks and the pinball plays like you would play on cement - you can throw away your pinball if this kind of paint is used. The pinball must play like it was before - the original feeling must be maintained...
Our coat is an industrial coat which we found after weeks and months of trial and error.
The clear coating process: we usually clear coat the playfields aprox 3-4 times with 3 layers with aprox 10 minutes of waiting in between
The coat drys after that for 10 days. After that aprox 60-70% of the layer is taken away by sanding the playfield. Reason for that: the inserts are never sealed so that most of the clear coat vanishes at those parts around the inserts. to level this out most of the apllied clear coat is sanded. Likie this we receive a perfect flat surface...
This procedure is repeated as often as needed to receive a perfect result.
FINISHING THE FINAL layer:
After aprox 3-4 clear coats the final layer already looks great but not good enough in our opinion. So the final layer is sanded again with 1000-1500-2000-3000 sanding paper and then polished hig gloss again.
Finally the playfield is sealed with wax - we only use natural wax - no silicone - nothing must be in there.
This playfield will last a lifetime and I'm quite sure the owner will have one of the most beautiful Nip It's on this planet....
Enjoy the results


Really hope I could give you a first impression of our work...
Have fun out there
Cheers
Henrik
btw: I forgot something - you surely wanna know prices...price for this work was 900€ - usual playfields (WPC) starting at about 500€ and in average they costs 650-750€
Delievery time: as mentioned before the coats must dry for 10-12 dys in between. So you might guess from that - that you need to wait aprox 12-14 weeks...

