background
i'd wanted a LOTR for ages but nobody was selling, so when i saw one a while back from the Italian warehouse company while the £-Euro was at a good exchange rate, i took the plunge. since the shipping was 220 euro per pallet, and two games fit on one pallet, this meant i needed to buy at least two machines ..... and since the lorry was going to be driving all that way, it seemed only reasonable to get two palletfuls. the more i spent, the more i saved, right? gawd it's an affliction.
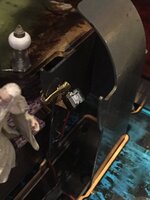
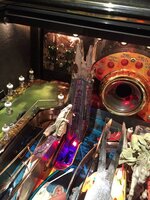
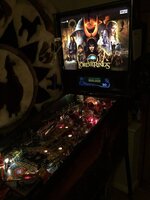
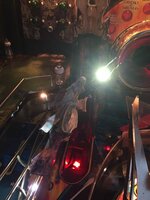
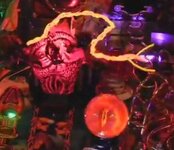
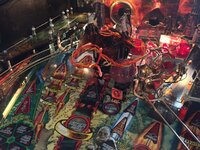
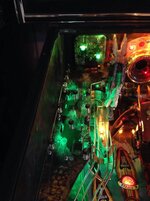
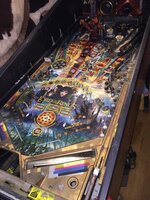
these are from the original sales pics - seemed to be filthy but all present and correct, and no UK 'skill posts', which was an unexpected bonus as i'd assumed i'd be stuck with those.
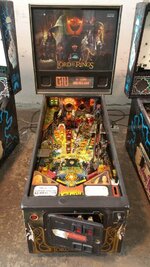
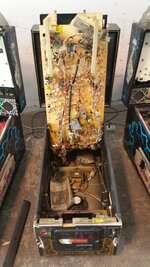
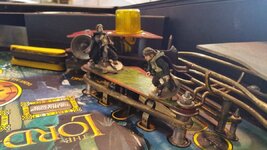
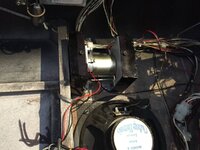
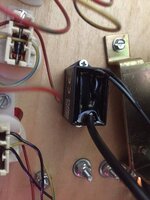
anyway so it arrived intact, it booted up and the first thing i noticed was a locked on coil ..... but i went to town on it, taking it all apart and cleaning it and putting it all back together:
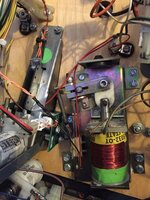
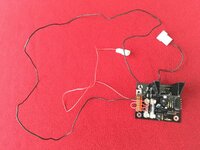
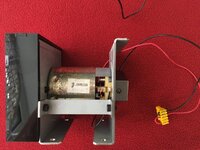
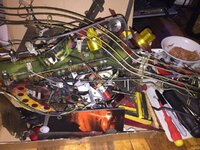
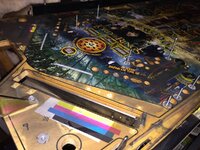
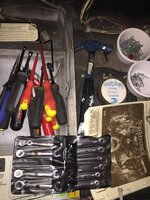
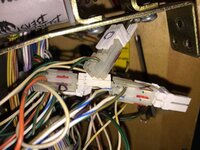
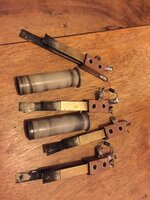
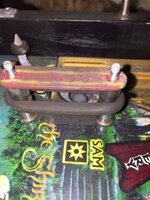
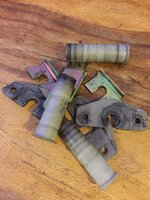
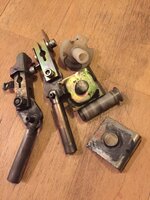
these pics were just among the many i took to help me put it back together after dismantling it, it was my biggest venture to date, with all new pop bumpers, slingshots, flippers, post sleeves, coil sleeves, rubbers, bulbs, as well as a bunch of switches, coils, transistors, springs, fuses .......
the makeover
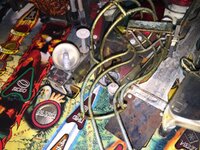
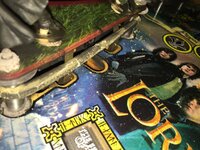
which led me to the starting point - a nice clean fully working Lord of The Rings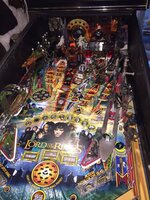
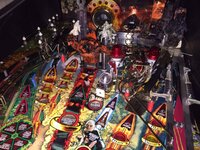
so now i was ready to start improving it
the pimping of Gollum, part 1 - the simple
ok so first off i did some simple stuff
invisiglass - expensive but delicious
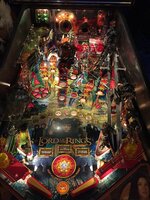
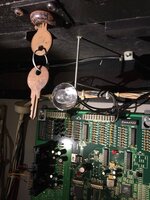
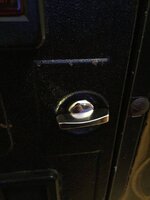
a keyless lock - easy for home use, easily reversed if needed
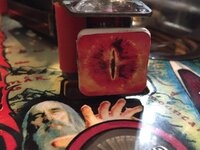
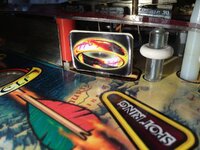
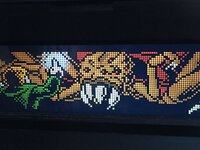
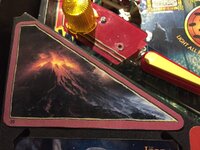
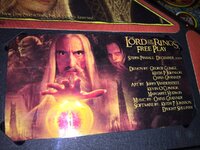
some custom cards - i just print out a properly-sized image on my printer at high quality settings, and put through my £10 laminator. these two cards are currently on there ...

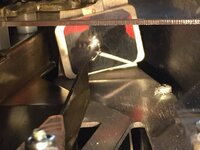
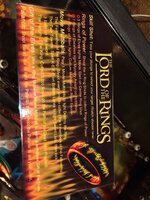
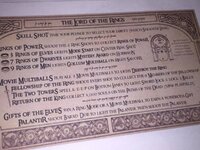
.....and these two may be given a try at some point. sorry about the rotated image.
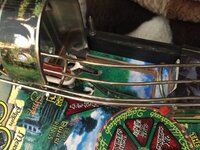
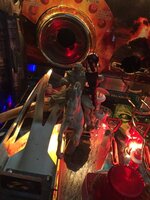
a Cliffy to the Gimli hole - this is great, looks nice, hides wear, prevents future wear, no ball hangups
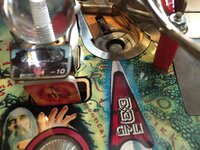
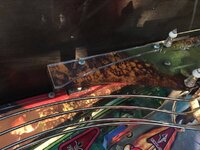
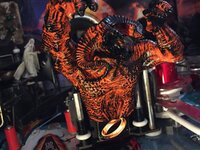
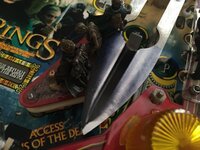
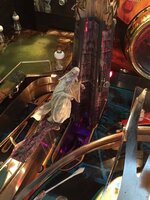
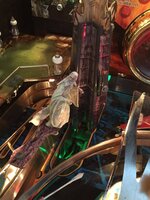
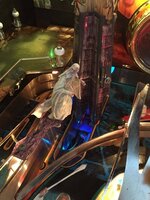
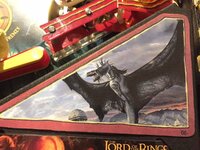
a Cliffy to the Orthanc scoop - this wasn't so great. it wasn't really needed anyway tbh, i just bought it to be pimp-ass, maybe i coulda tweaked it more to reduce the lip, but in the end i just took it off, as it's not exactly a high wear area, and the little edge was causing a few slower balls to carrom away from entering the scoop. it looked ok, just not an improvement. what you see here is mid-removal, so any bends in the metal you can see were probably caused by me
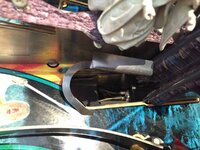
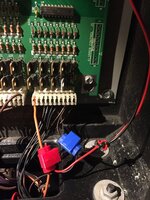
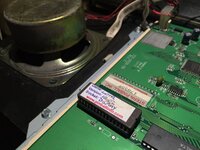
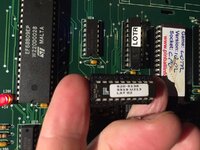
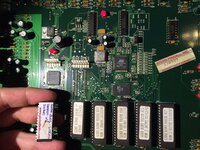
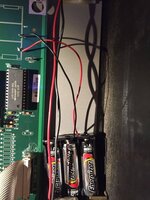
remote batteries - a lifesaver, everyone should do this to prevent board damage from leaking batteries. actually i'm gonna go one step further very soon, am awaiting a delivery of some very cheap NVRAMs that i will install plug-and-play in lots of my games to remove any future need for batteries. it goes right in there where the only chip in the picture is, that chip comes out and this chip goes in, and that's job done in 30 seconds.
that'll do for now, this thread is already full up with pictures and i've not finished sorting it all out yet.
to follow - the pimping of Gollum, part 2 - the intermediate
i'd wanted a LOTR for ages but nobody was selling, so when i saw one a while back from the Italian warehouse company while the £-Euro was at a good exchange rate, i took the plunge. since the shipping was 220 euro per pallet, and two games fit on one pallet, this meant i needed to buy at least two machines ..... and since the lorry was going to be driving all that way, it seemed only reasonable to get two palletfuls. the more i spent, the more i saved, right? gawd it's an affliction.
these are from the original sales pics - seemed to be filthy but all present and correct, and no UK 'skill posts', which was an unexpected bonus as i'd assumed i'd be stuck with those.


anyway so it arrived intact, it booted up and the first thing i noticed was a locked on coil ..... but i went to town on it, taking it all apart and cleaning it and putting it all back together:
these pics were just among the many i took to help me put it back together after dismantling it, it was my biggest venture to date, with all new pop bumpers, slingshots, flippers, post sleeves, coil sleeves, rubbers, bulbs, as well as a bunch of switches, coils, transistors, springs, fuses .......
the makeover


which led me to the starting point - a nice clean fully working Lord of The Rings


so now i was ready to start improving it
the pimping of Gollum, part 1 - the simple
ok so first off i did some simple stuff
invisiglass - expensive but delicious

a keyless lock - easy for home use, easily reversed if needed

some custom cards - i just print out a properly-sized image on my printer at high quality settings, and put through my £10 laminator. these two cards are currently on there ...


.....and these two may be given a try at some point. sorry about the rotated image.


a Cliffy to the Gimli hole - this is great, looks nice, hides wear, prevents future wear, no ball hangups

a Cliffy to the Orthanc scoop - this wasn't so great. it wasn't really needed anyway tbh, i just bought it to be pimp-ass, maybe i coulda tweaked it more to reduce the lip, but in the end i just took it off, as it's not exactly a high wear area, and the little edge was causing a few slower balls to carrom away from entering the scoop. it looked ok, just not an improvement. what you see here is mid-removal, so any bends in the metal you can see were probably caused by me

remote batteries - a lifesaver, everyone should do this to prevent board damage from leaking batteries. actually i'm gonna go one step further very soon, am awaiting a delivery of some very cheap NVRAMs that i will install plug-and-play in lots of my games to remove any future need for batteries. it goes right in there where the only chip in the picture is, that chip comes out and this chip goes in, and that's job done in 30 seconds.

that'll do for now, this thread is already full up with pictures and i've not finished sorting it all out yet.
to follow - the pimping of Gollum, part 2 - the intermediate
Last edited:


